A cone you roll yourself, filled with fresh natural paste, gives finer lines and a better stain than most ready-made cones. It takes about ten minutes, plus time for the paste to rest.
What you need
- Henna powder: body-art quality, finely sifted. 20 g fills two or three cones.
- Lemon juice, or water if your skin is sensitive.
- Sugar: about a teaspoon. It makes the paste smooth and helps it stick.
- An essential oil for henna: eucalyptus, tea tree or lavender, a teaspoon for 20 g. It helps the colour develop. Skip it for young children.
- Cone sheets: cellophane or thin plastic sheets, about 15 × 20 cm, from a craft or mehndi shop.
- Tape, scissors, and a small zip bag for filling.
Make the paste
- Mix the powder, sugar and oil, then add lemon juice a little at a time, stirring until the paste is as thick as toothpaste: smooth, and it falls slowly from the spoon.
- Let it rest, covered, in a warm place. The paste is ready when a darker orange-brown liquid shows on the surface: usually 6 to 12 hours, faster in a warm room.
- Stir it again and add a few drops of lemon juice if it has thickened. It should pull into a soft string from the spoon.
Roll the cone
- Hold the sheet with one corner pointing towards you.
- Roll it from one side into a tight cone, so the point at the bottom is closed and sharp.
- Tape the outer edge firmly along its length.
Fill and cut
- Spoon the paste into the corner of a zip bag, snip a small hole, and squeeze it into the cone until it is a third to half full.
- Fold the top over twice, and tape it shut.
- Cut the very tip of the cone. Start with the smallest cut you can make: a smaller hole gives finer lines, and you can always cut a little more.
- Test it on paper. Squeeze gently from the top; the line should flow evenly without blobs.
Store it
Fresh paste keeps for a day or two at room temperature and about a week in the fridge. Frozen, it keeps for months: freeze extra cones the day you make them, and thaw one at room temperature for 20 minutes before use.
Ready-made cones
If you buy cones, choose ones that list their ingredients, and avoid any that promise a black or instant stain. They usually contain chemical dyes. See is black henna safe.
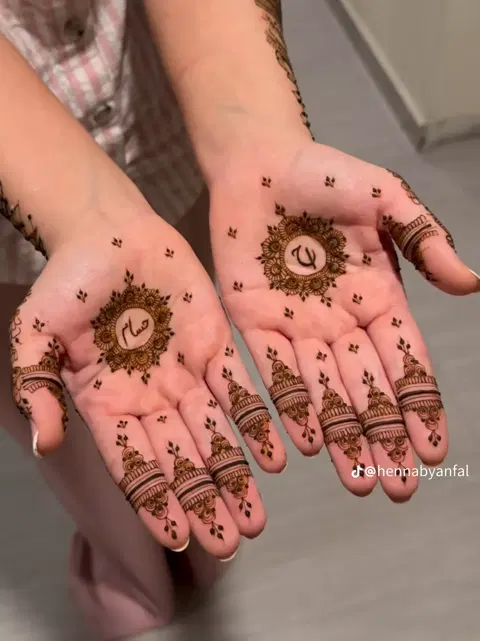
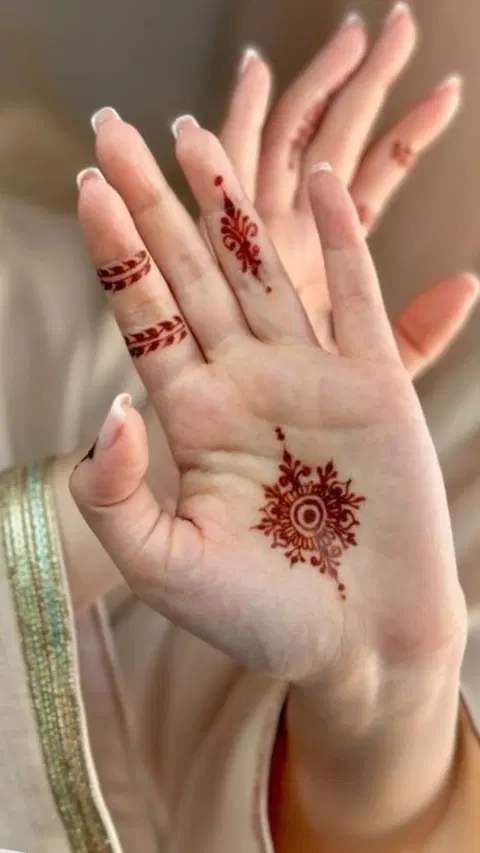
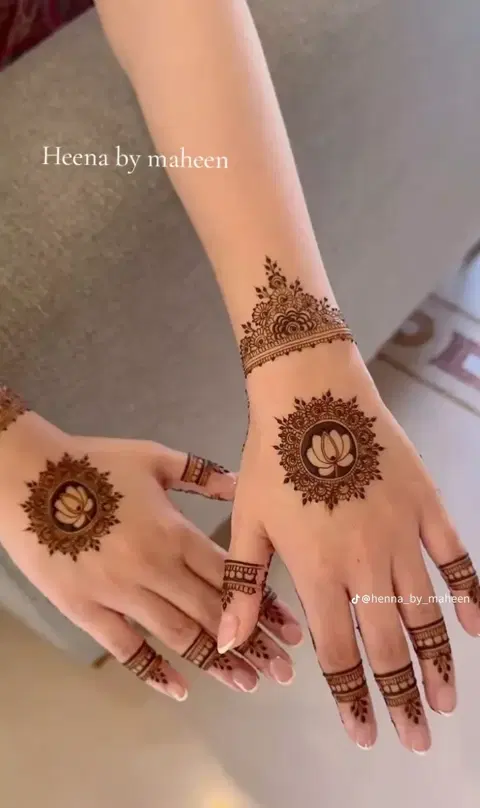
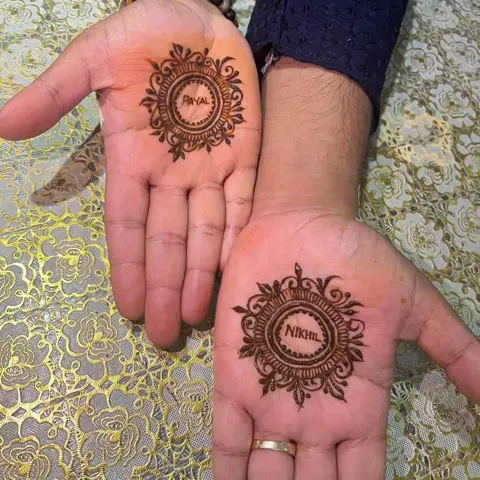
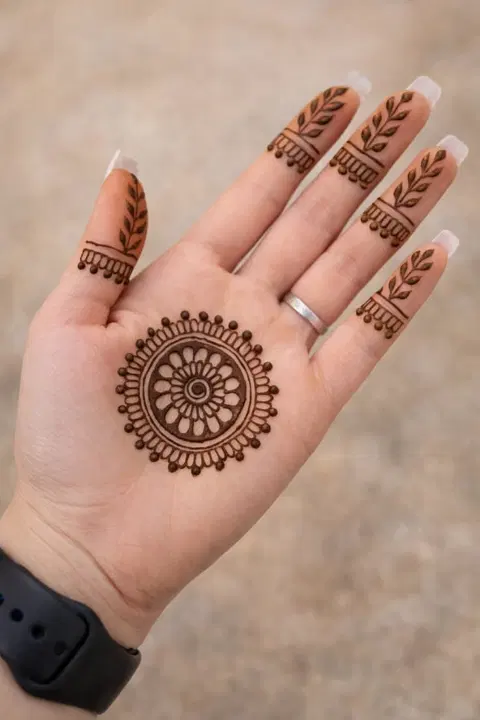
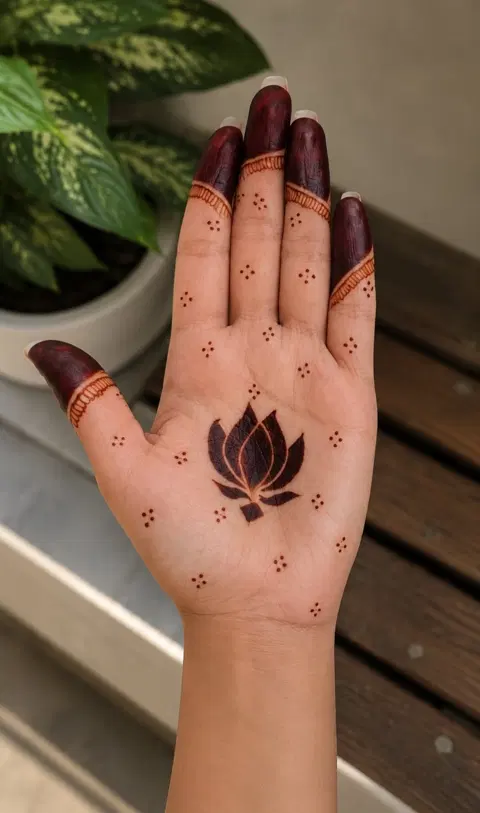
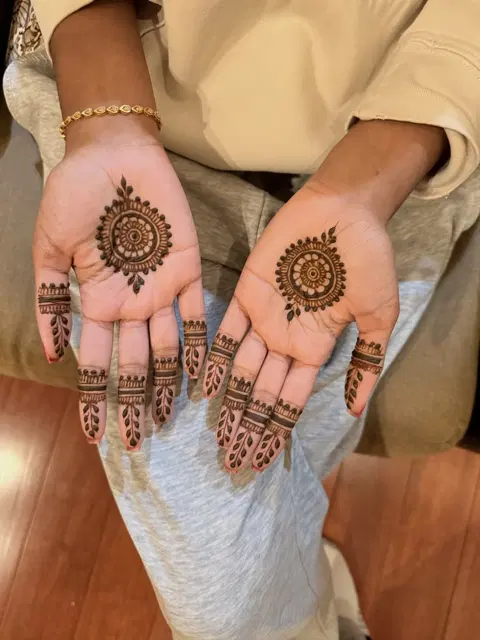
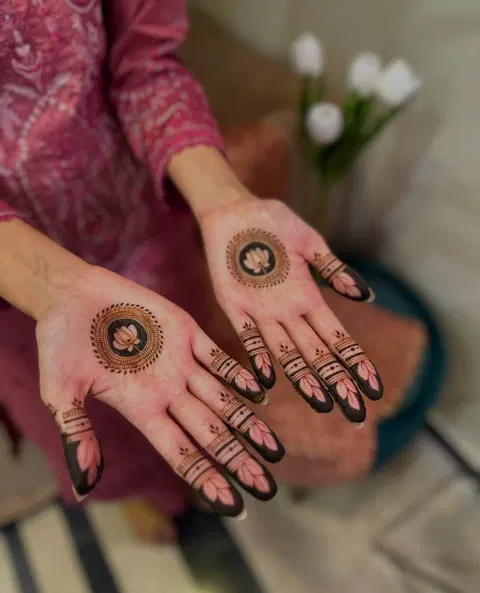
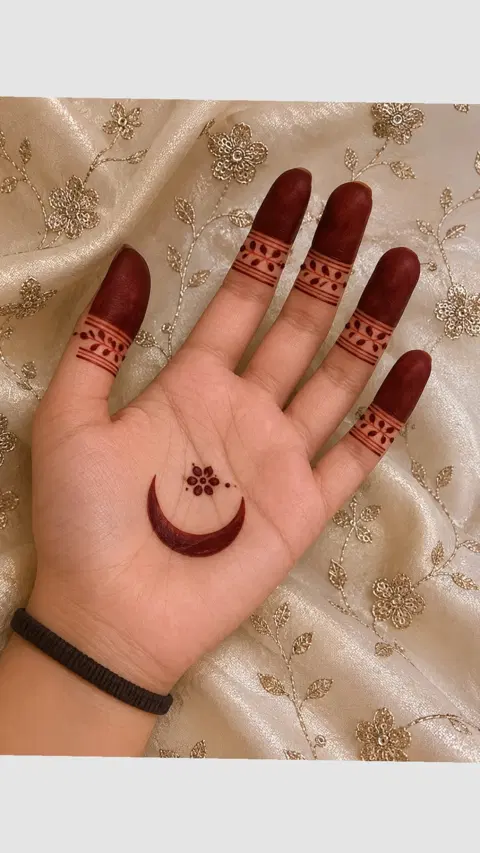
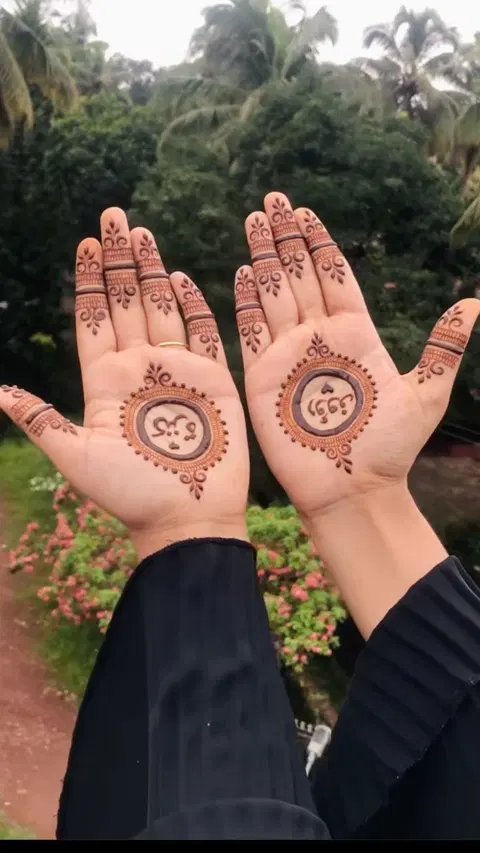
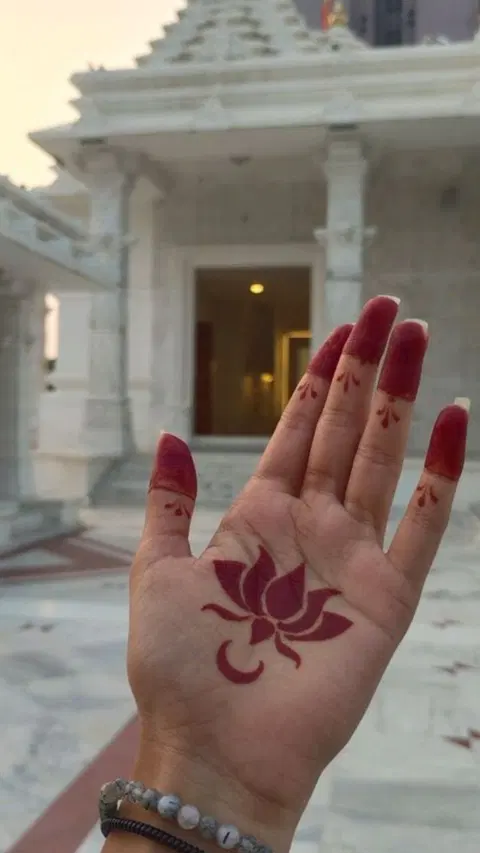
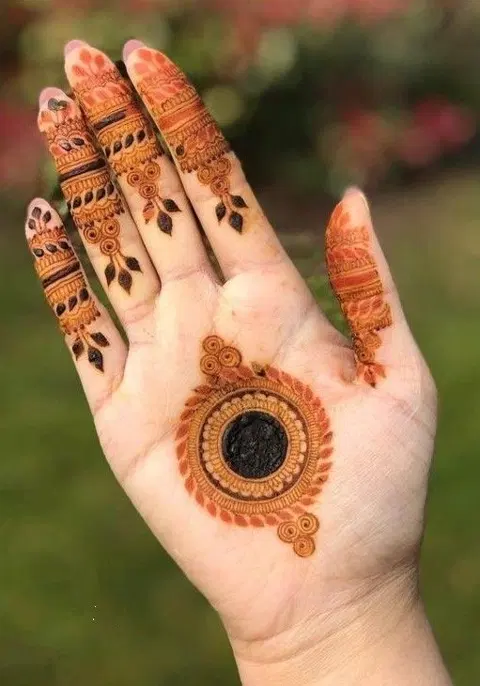
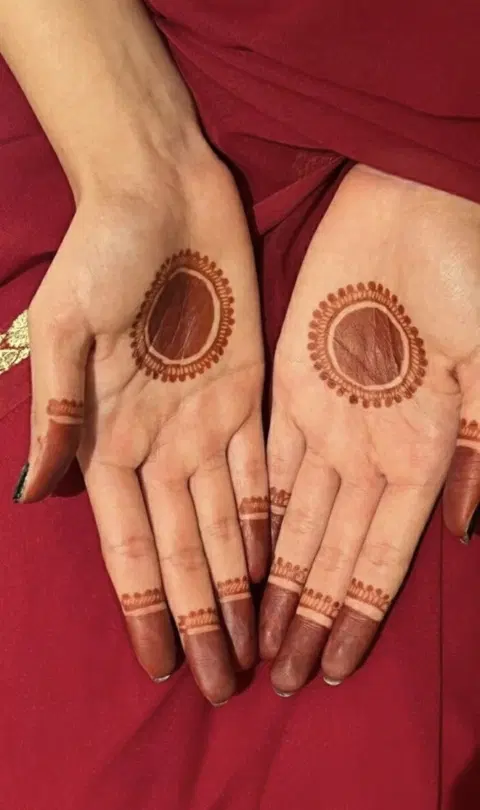
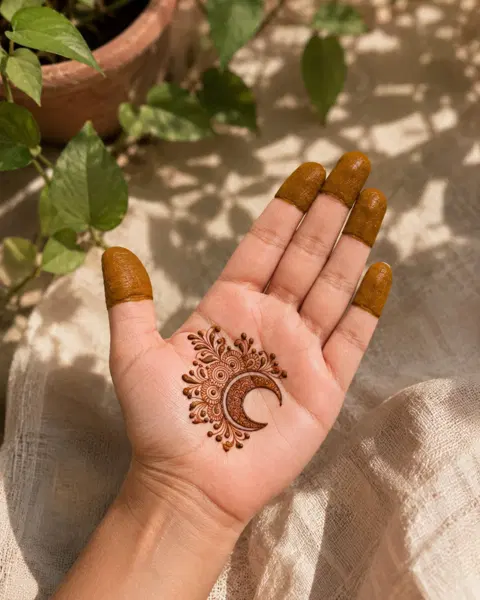
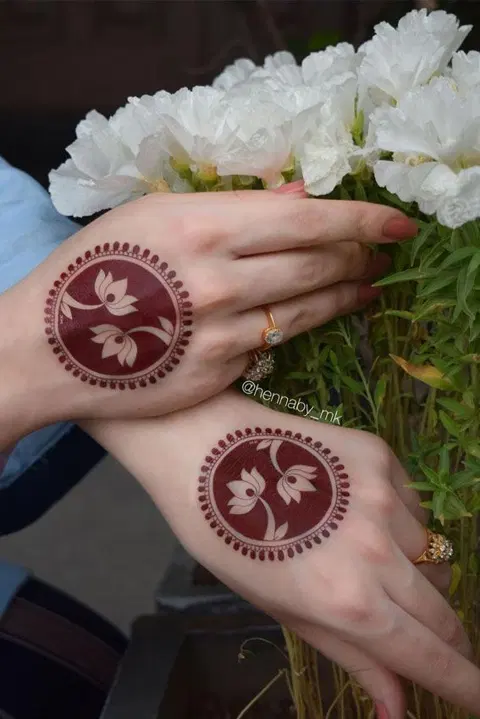
Simple Mehndi Design to try
See all of them →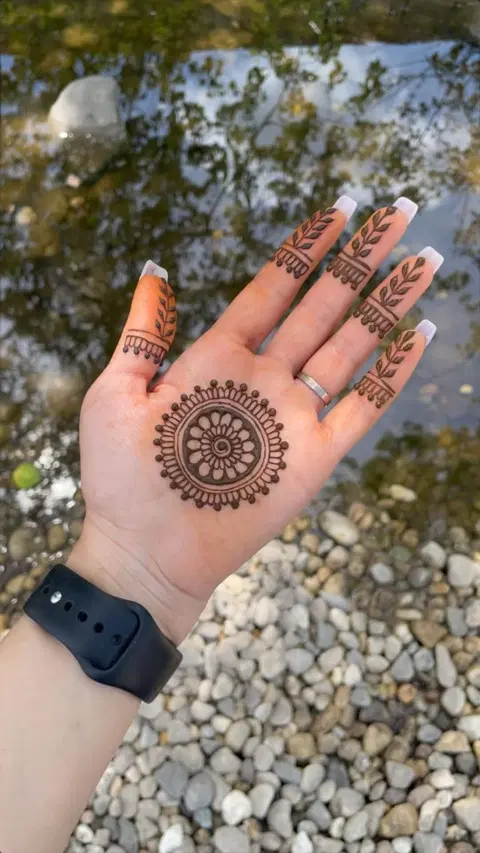








Written by the mehndidesign.online team. Something wrong or missing? Tell us.