
Learn it


Measured
20 mintypical time for a design like these (most take 13–31 min)
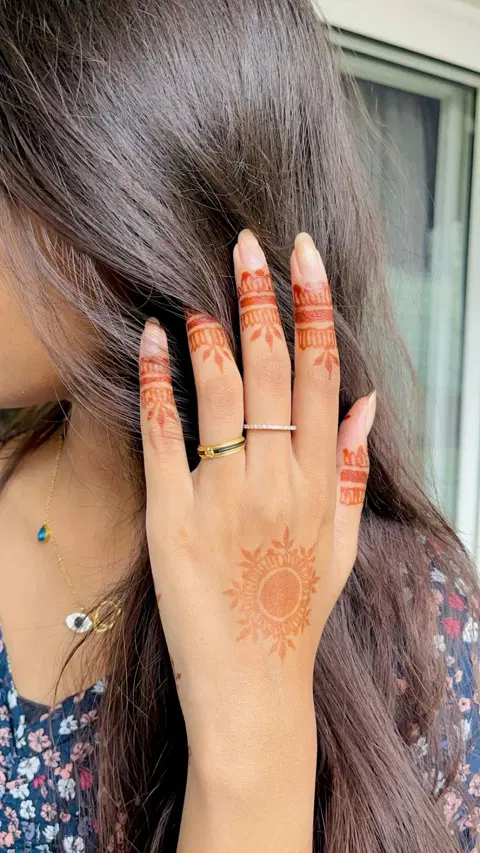
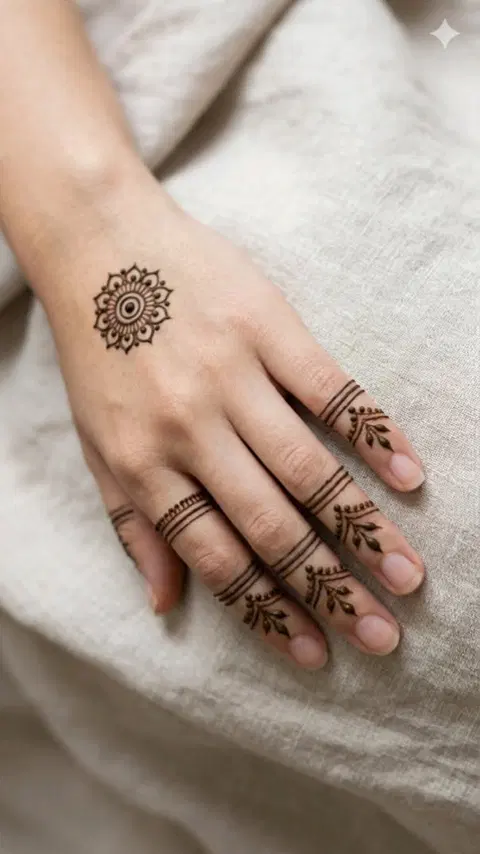
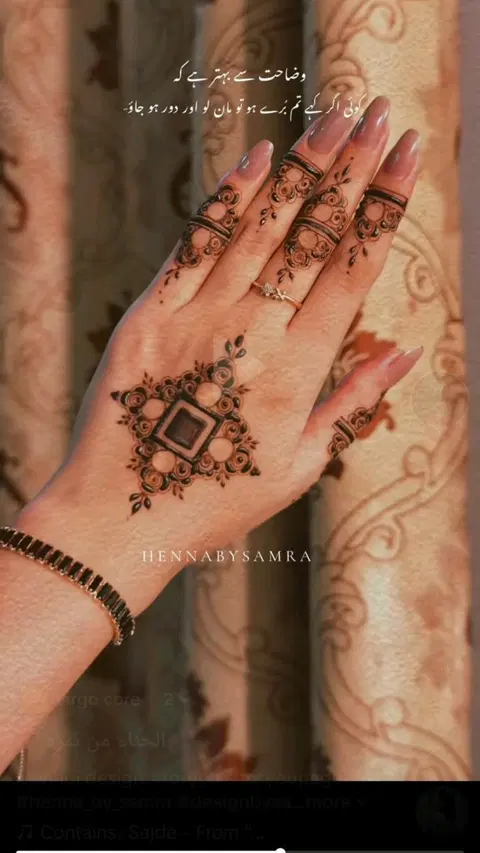
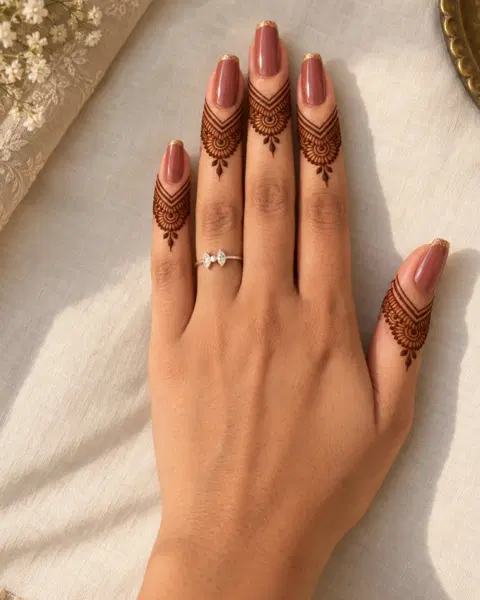
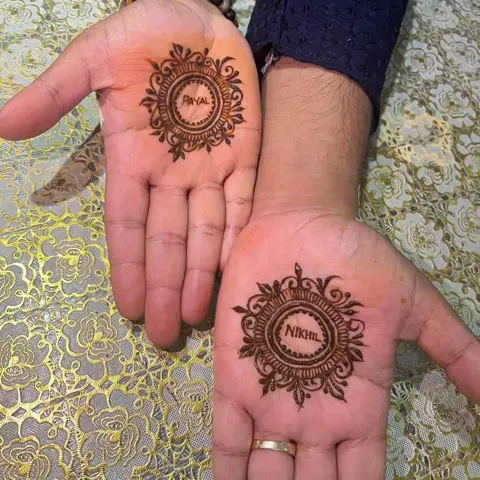
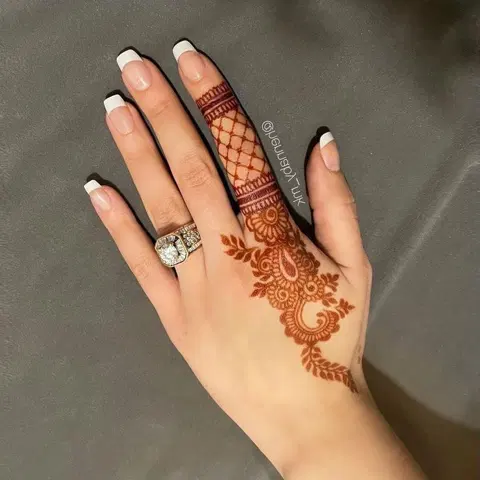
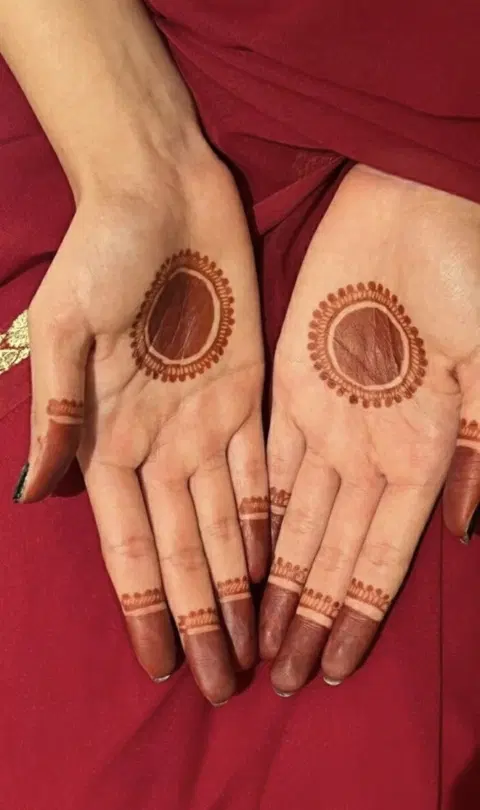
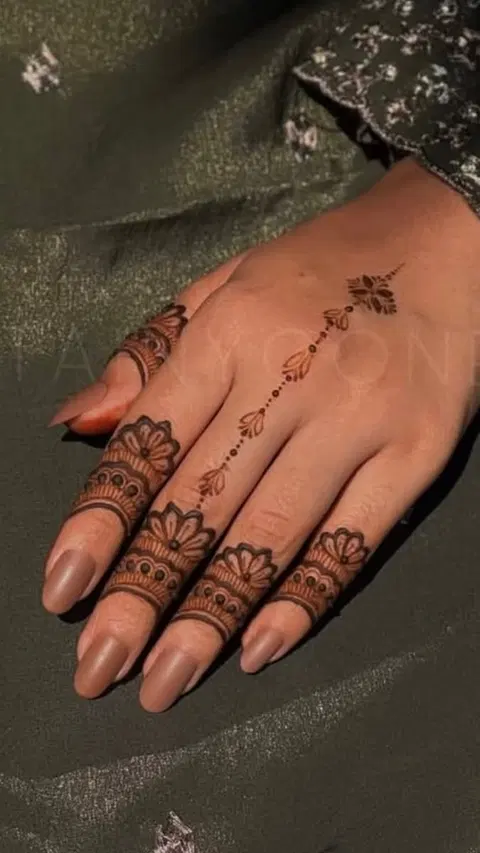
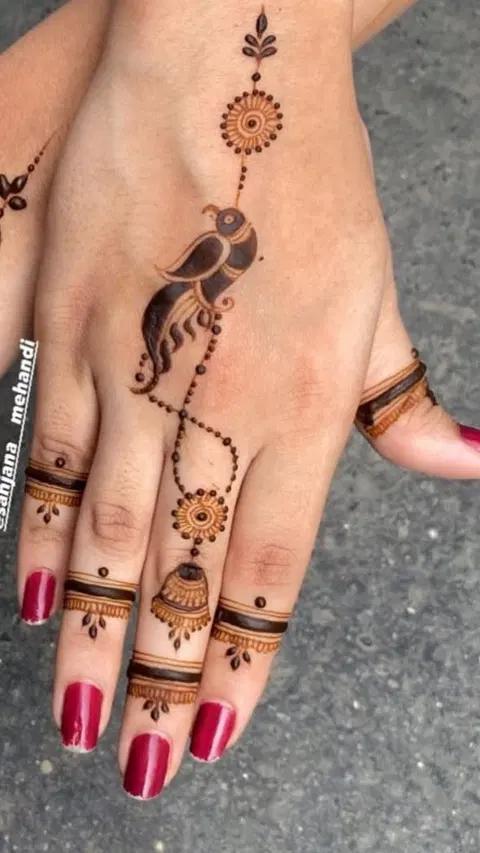

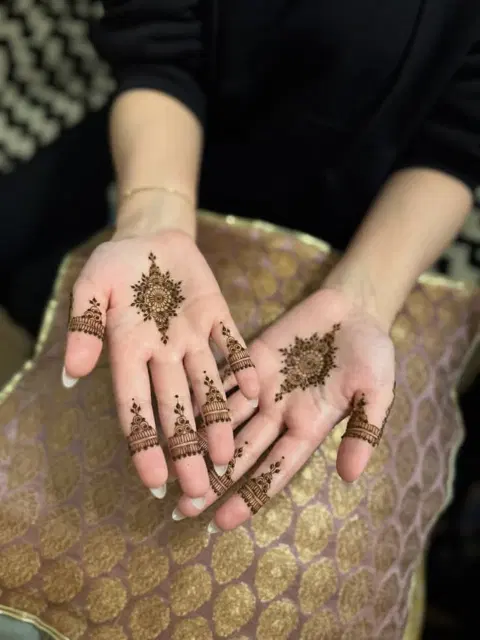
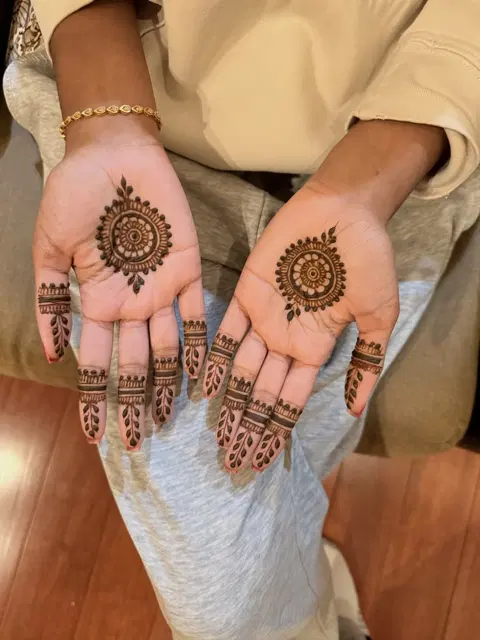
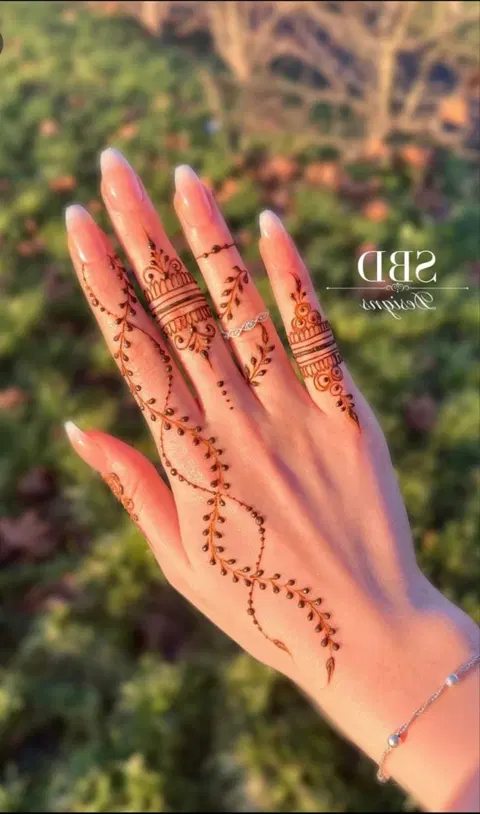
What we measured
- 28%of the visible skin is inked, on a typical design here
- 1.7 mof henna line drawn in a typical design
- 1.5 mmtypical line width: a fine cone tip
- 20 mintypical time for a design like these (most take 13–31 min)
From 1,552 photos read by our tracer. Estimates from photos: a guide, not a promise.
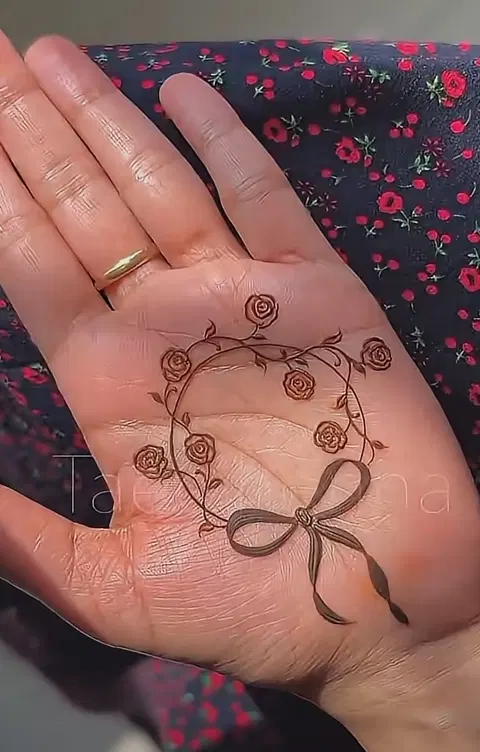
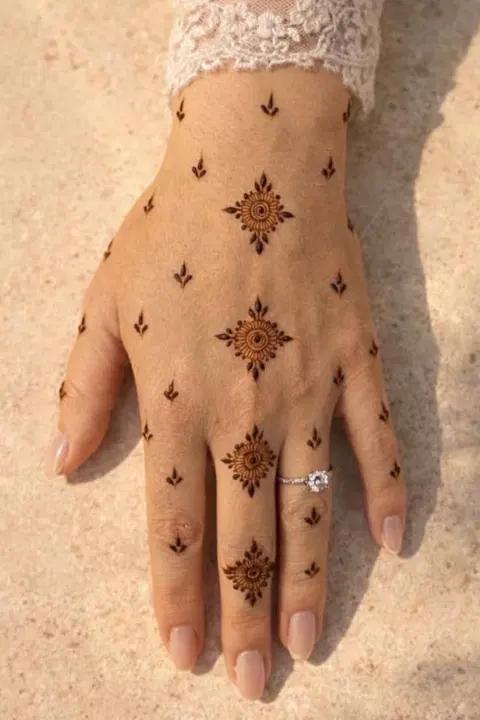
What is a simple mehndi design?
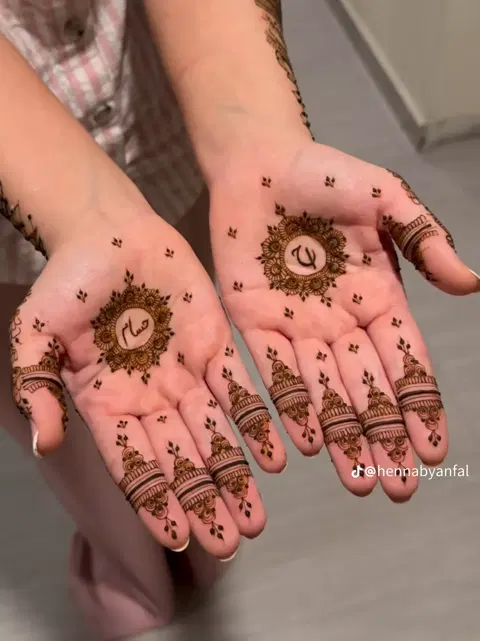
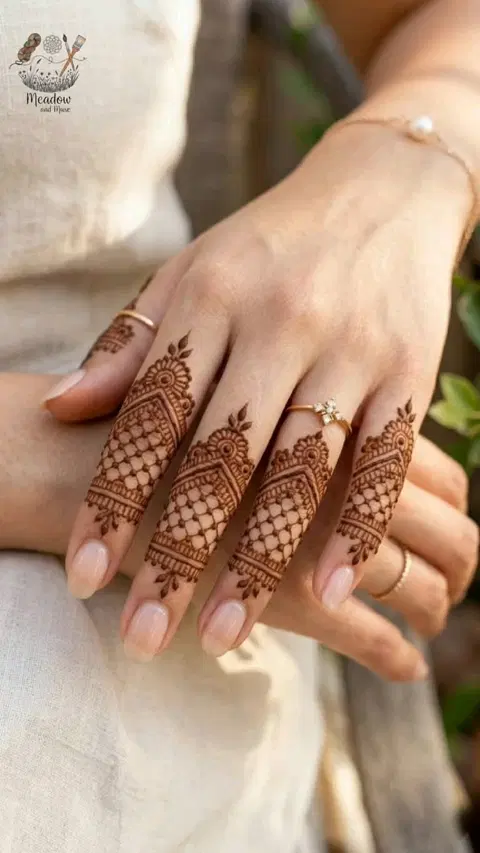
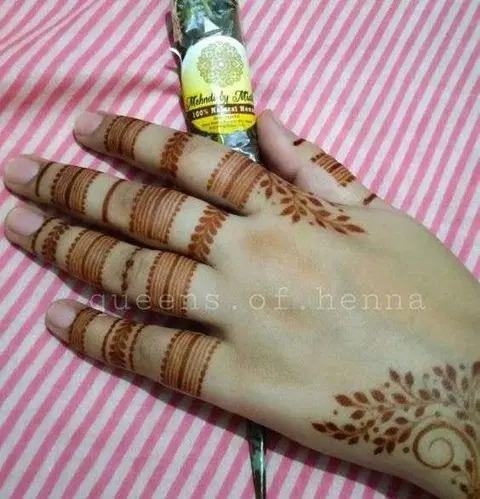
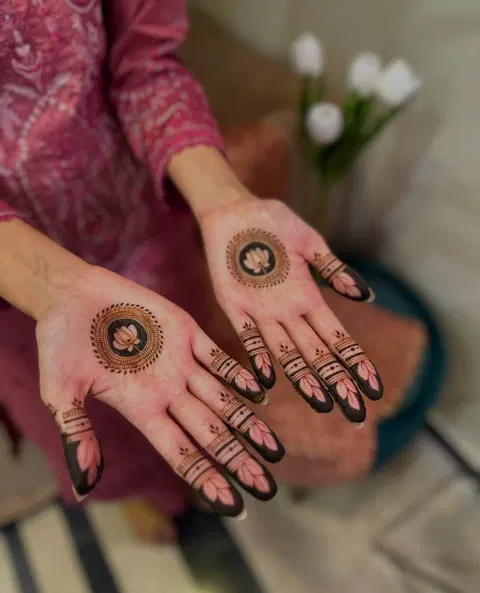
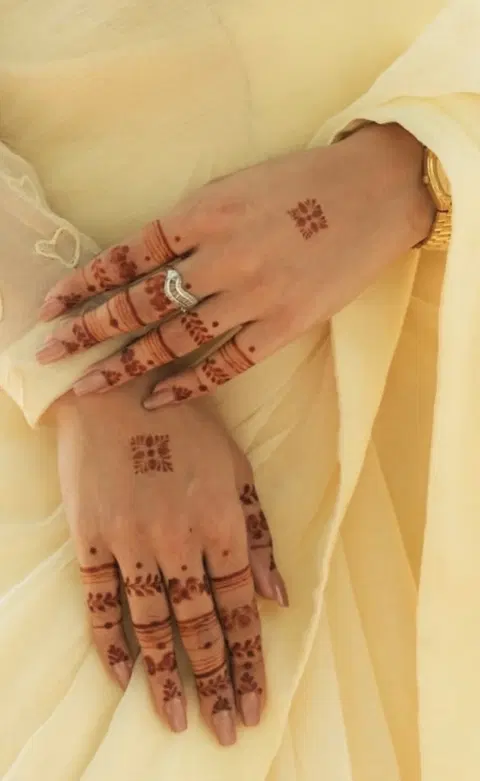
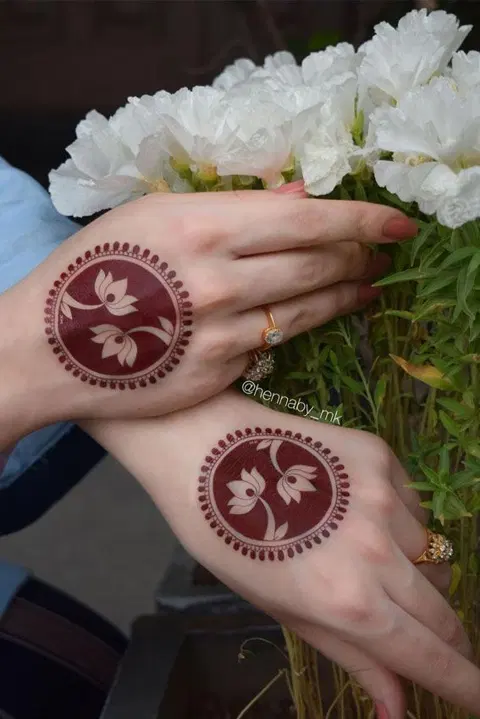
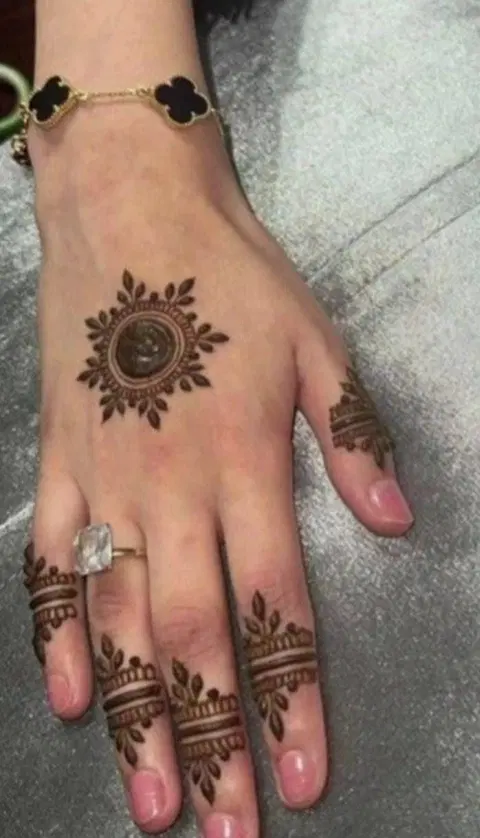
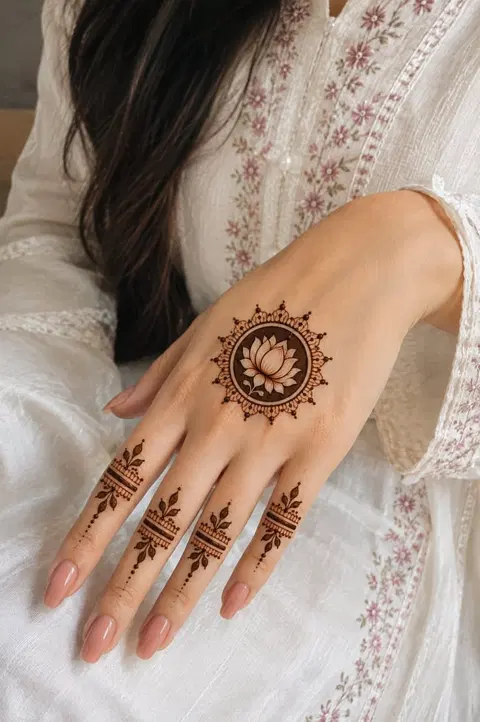
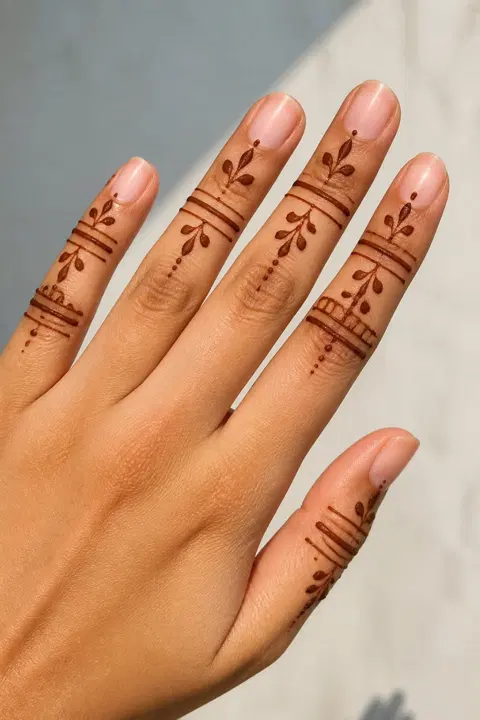
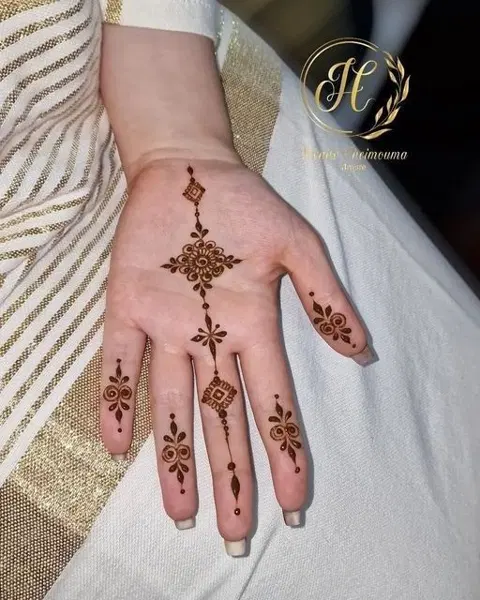
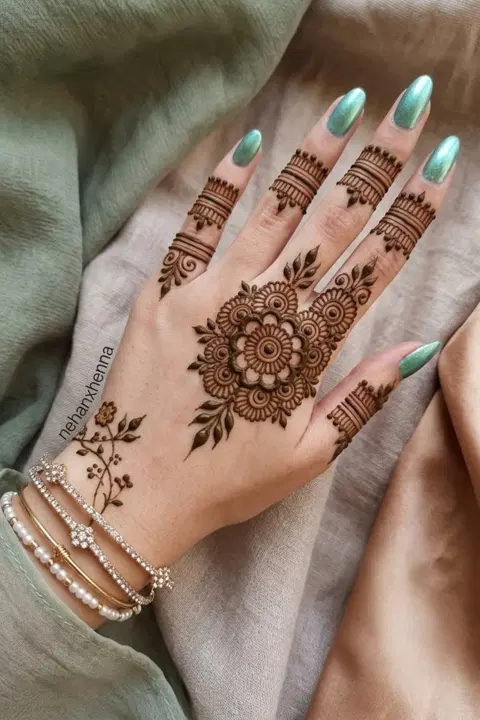
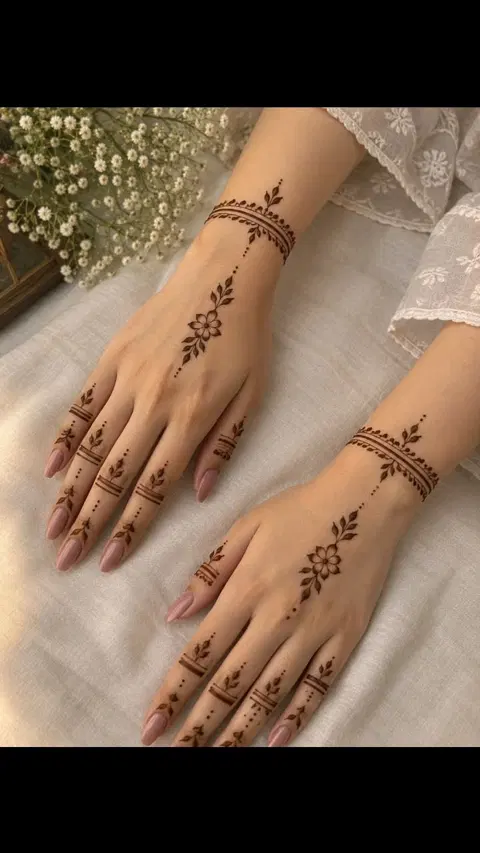
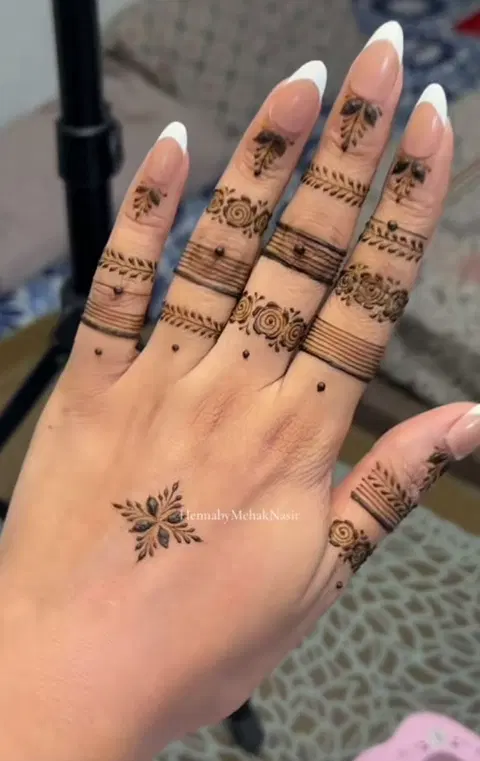
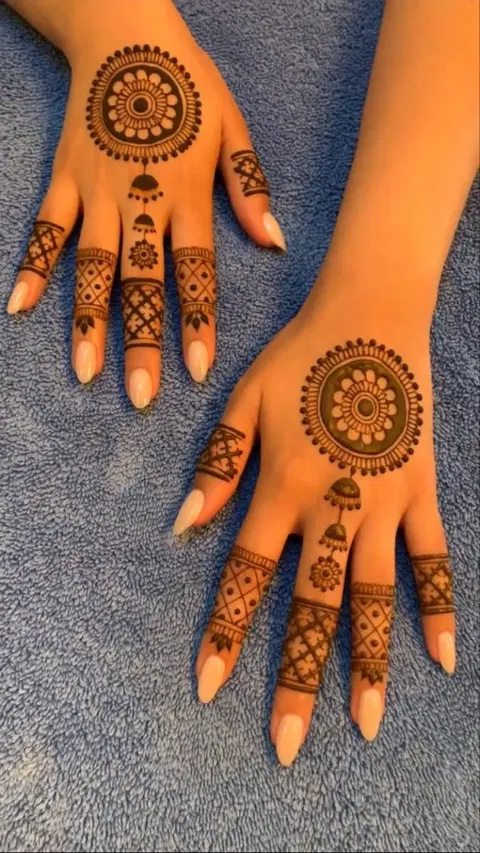
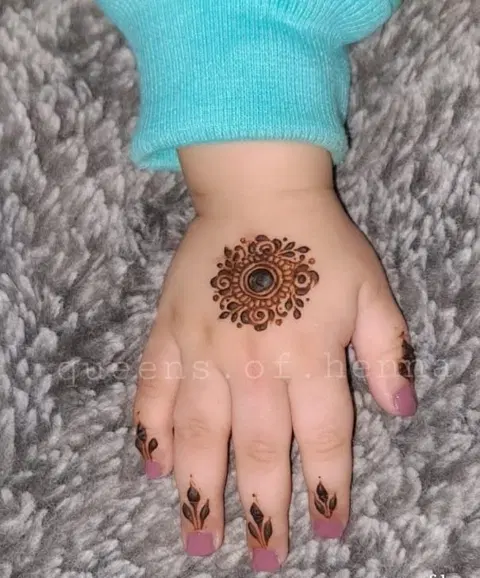
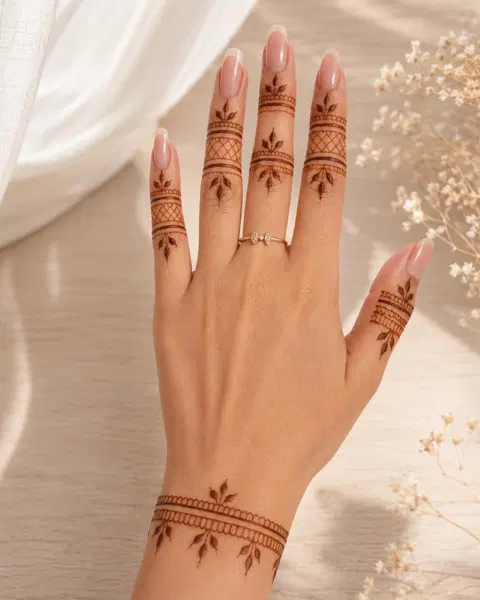
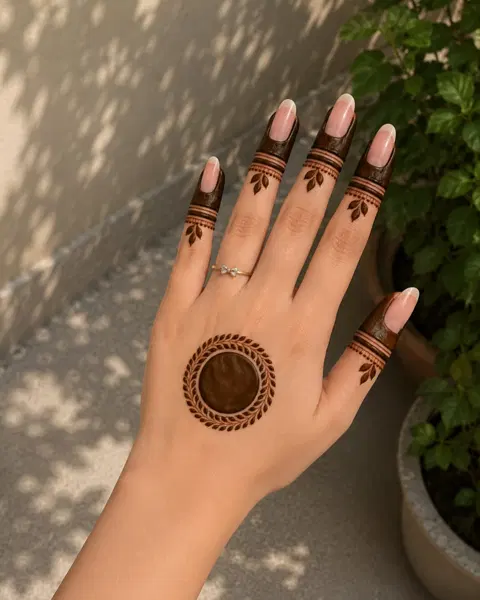
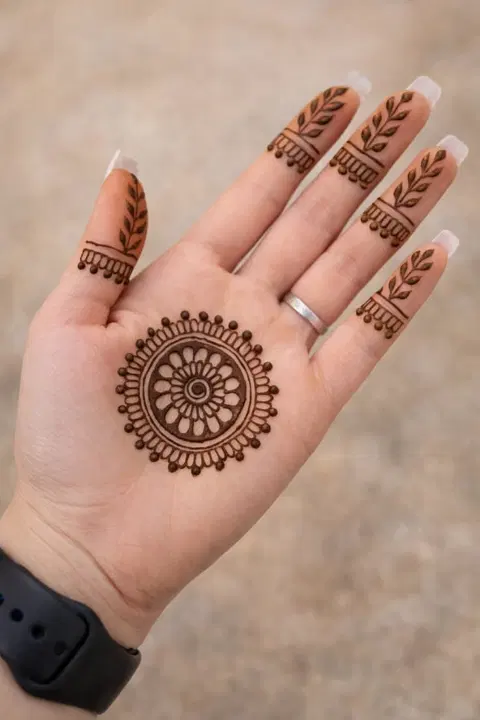
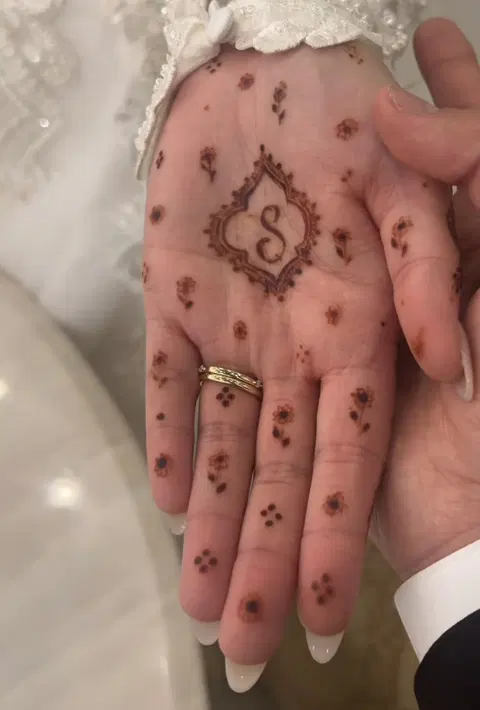
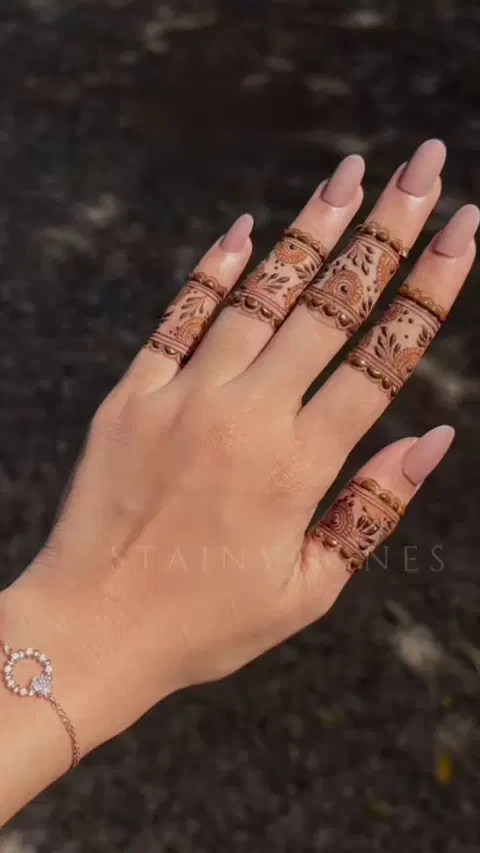
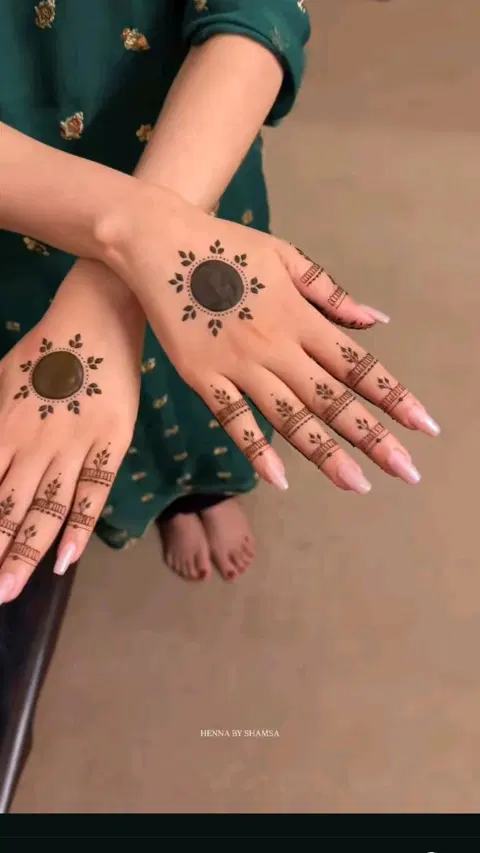
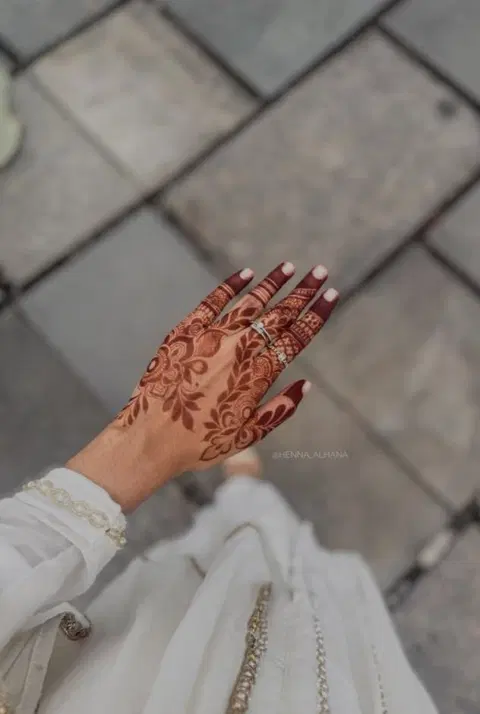
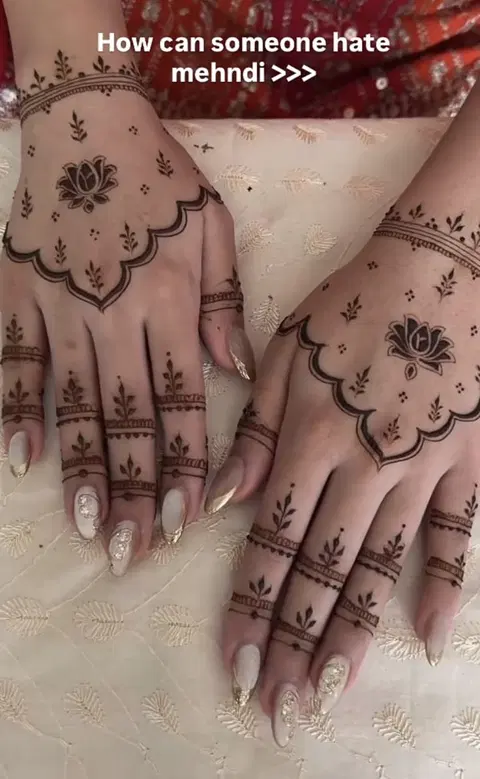
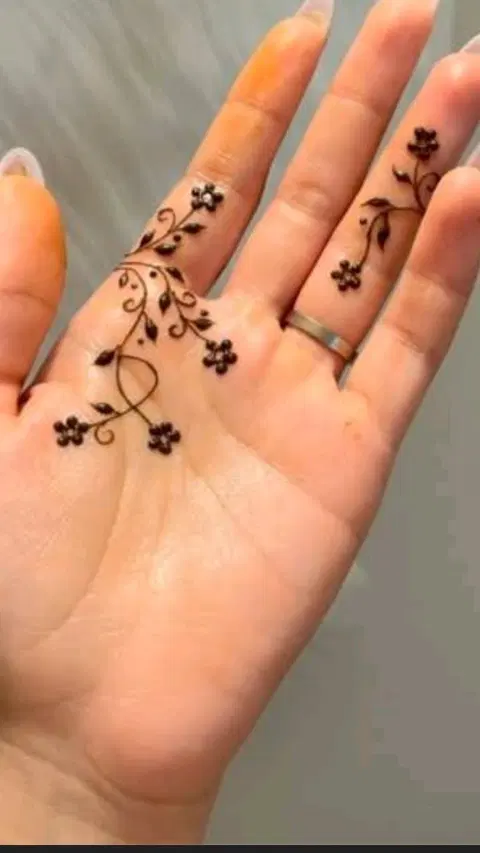
A design with a few elements and plenty of open skin, such as a single flower, a short trail or finger patterns. Most take 10 to 20 minutes, which makes them a good choice for beginners, everyday wear or office days.
Artists known for simple finger
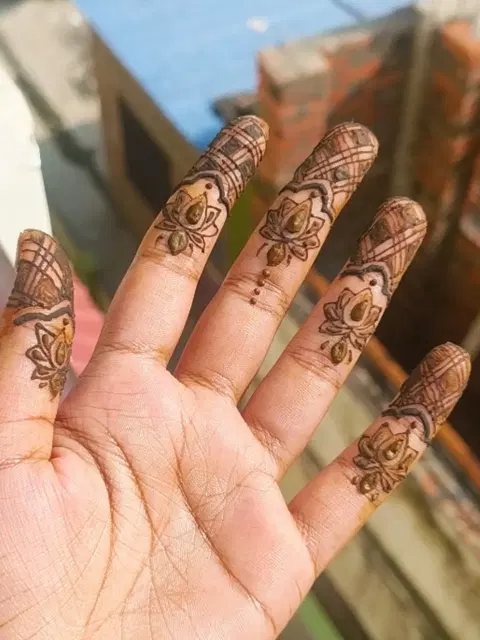 Priyanshi5 designs here · Varanasi
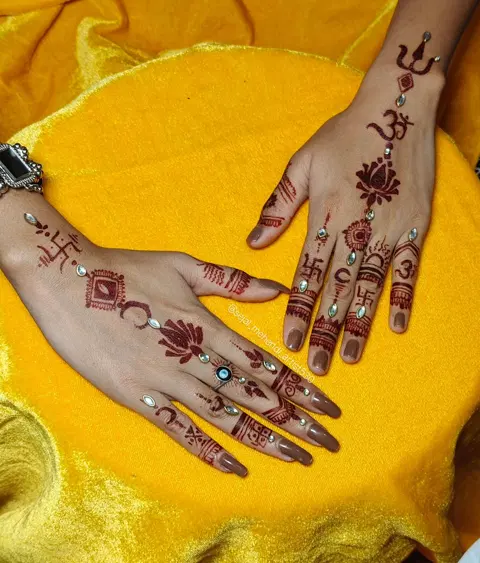 Sejal Chouksey3 designs here
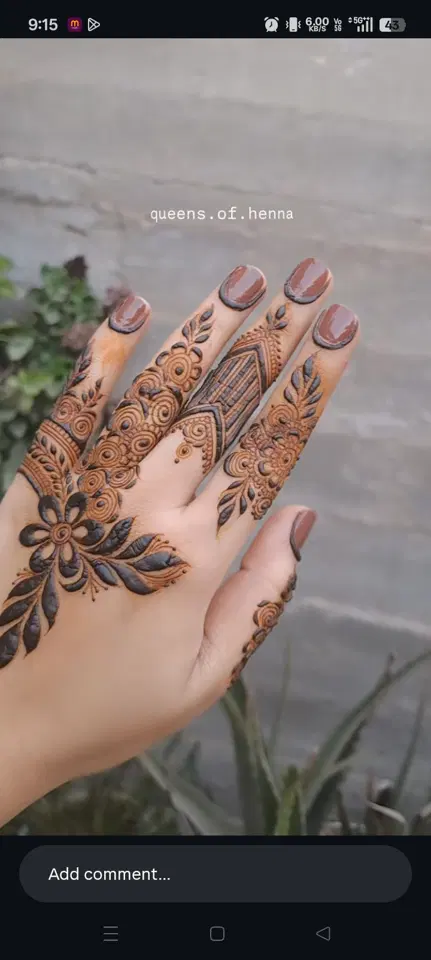 SHIFA NAAZ MEHNDI ARTIST3 designs here · South
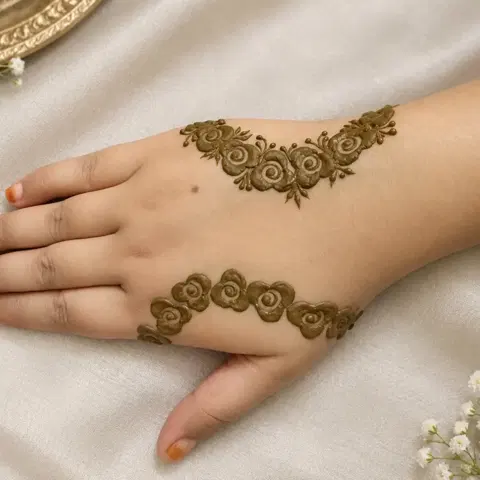 @mahendiartist93302 designs here · Gorakhpur
Learn it
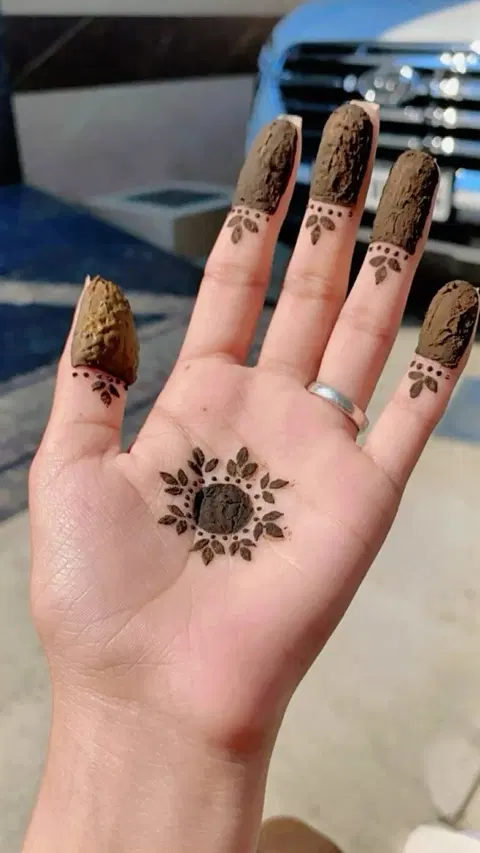
Are finger-only designs a good choice?
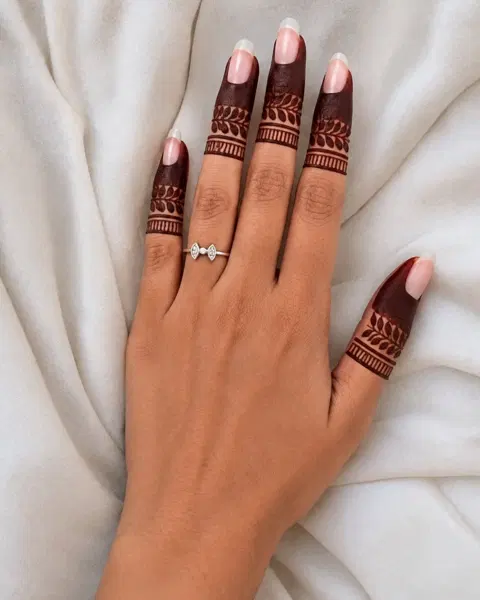
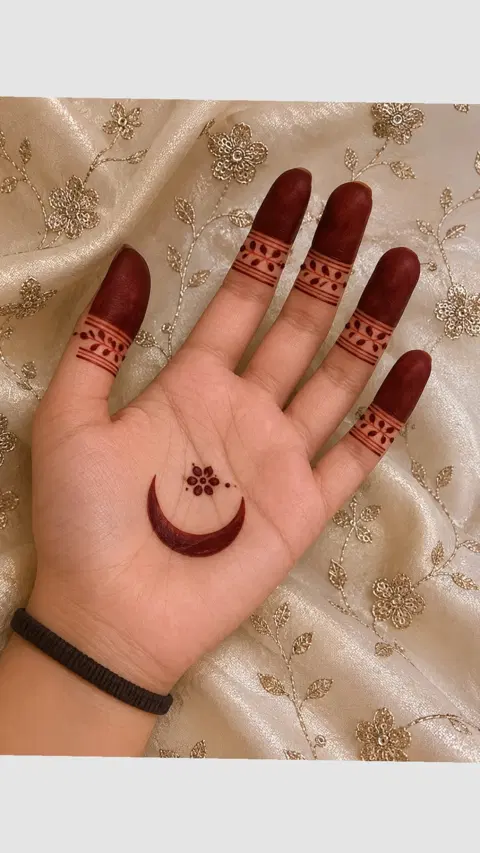
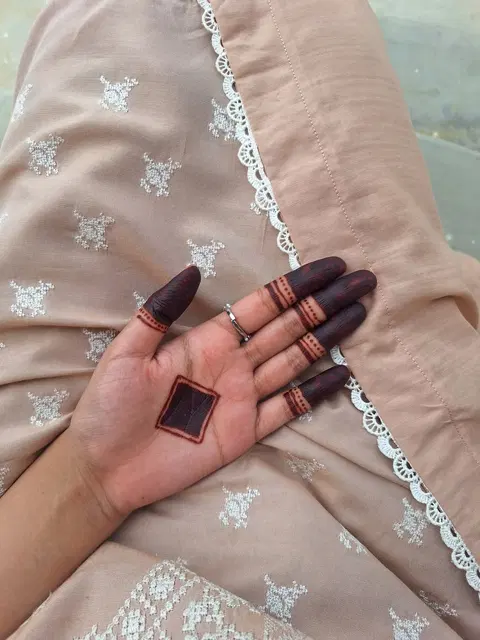
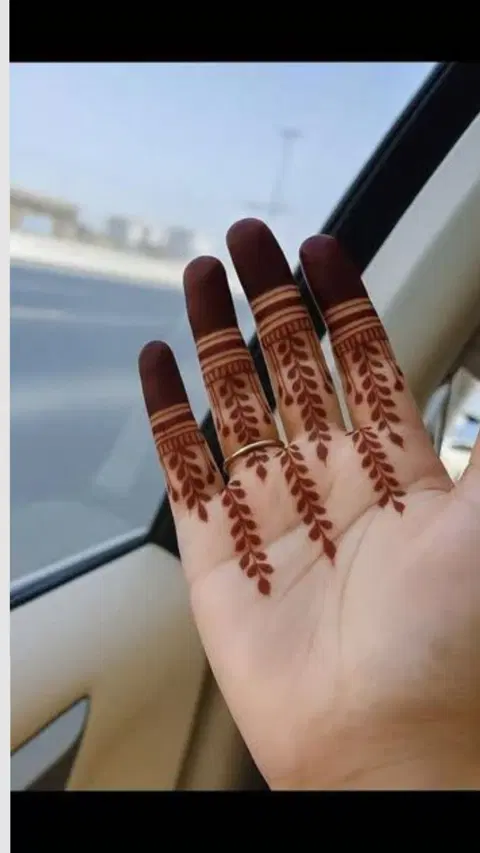
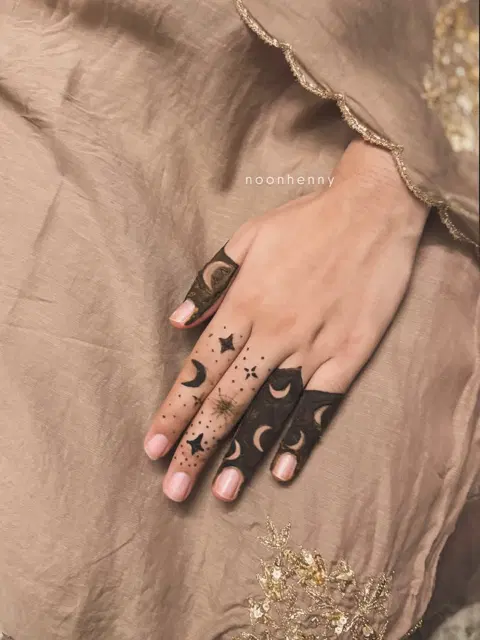
Yes, for a quick look. Finger designs take 5 to 15 minutes and pair well with a small motif on the hand. Many people also dip the fingertips fully in paste, which gives the traditional dark caps.
Guide
New to mehndi?
Start here: the cone, the basic strokes, then your first simple design.
Read the guide →How long does mehndi last?
Usually one to three weeks. Palms and soles hold colour longest because the skin there is thicker; the back of the hand fades sooner. Frequent washing, scrubbing and sanitiser make it fade faster.
Learn it
For artists
Is your work here?
Your designs are credited to you. Claim your free artist page to add your latest work, your city, timings and prices.
How it works →Is black henna safe?
No. Natural henna never stains black: it goes from orange to brown or deep maroon. "Black henna" usually contains PPD, a hair-dye chemical that can cause blisters, scars and a lifelong allergy. Use only natural henna and do a small patch test a day before a large design.
How can I learn mehndi at home?
Start on paper with a real cone so you learn the pressure. Practise the basic strokes until they are even: dots, straight and curved lines, S-curves, teardrops, petals and leaves. Then combine them into small flowers and paisleys, and only then move to your own hand. The video tutorials on each page are a good next step.